Introduction
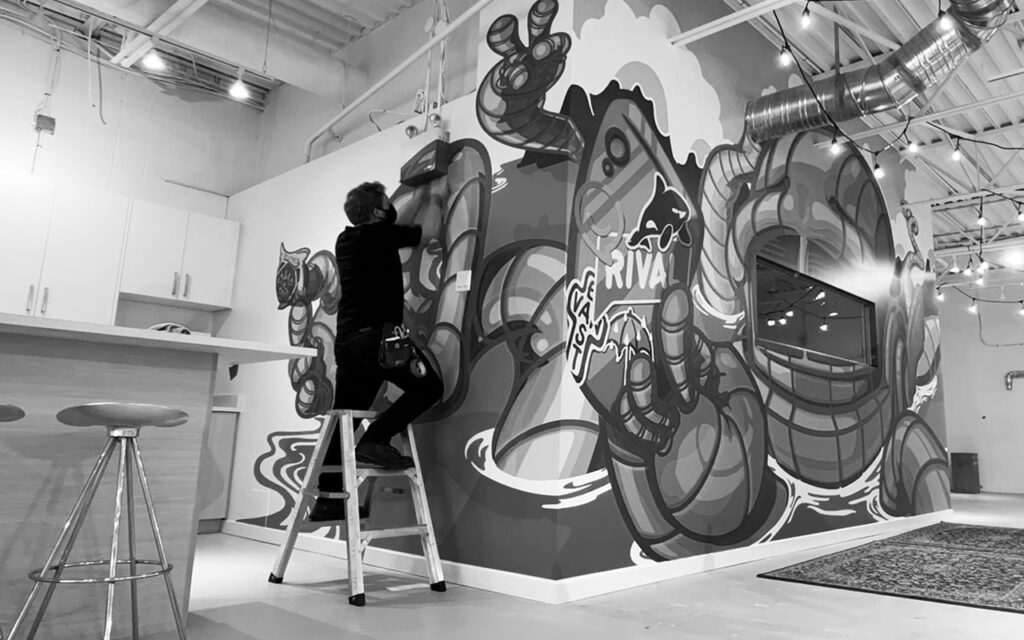
At Ad Install, we believe that great graphic installers require a fairly unique blend of technical skills, manual dexterity and a good amount of creativity and passion to get to the highest levels. Working with clients from all over North America on projects based in the vibrant city of Vancouver, BC. We’ve honed our skills to perfection over the last 20 years, turning graphic installation into an experience that transforms spaces and leaves a lasting impression.
The Artistry of Graphic Installation
Graphic installation goes beyond simply sticking vinyl to a wall or window. It’s about translating ideas into visuals that captivate, inform, and inspire. Each installation is a canvas where creativity comes to life, and every cut, alignment, and finish contributes to realising a customers creative vision.
Precision Meets Passion
Precision is our cornerstone, and creativity is our driving force. We understand that successful graphic installation requires meticulous planning, flawless execution, and an unwavering commitment to perfection. It’s the delicate dance between technical proficiency and artistic expression that sets us apart.
Unveiling Tips and Tricks
We’re excited to lift the curtain on the world of graphic installation. In this article, we’re sharing insider tips and tricks that will empower you to master the art of graphic installation yourself. From tackling challenges head-on to achieving seamless alignment and ensuring longevity, we’re here to guide you through the journey of turning blank canvases into captivating visuals.
So, whether you’re a seasoned professional seeking new insights or someone taking their first steps in the world of graphic installation, we invite you to join us on this exploration of creativity, precision, and artistry. Let’s delve into the realm of graphic installation and uncover the secrets that will elevate your projects to new heights.
Ready to become a graphic installation virtuoso? Let’s dive in!
Stay tuned for our expert insights as we reveal the artistry behind graphic installation, piece by piece.

1. Setting the Stage
Before embarking on any graphic installation journey, it’s essential to lay a strong foundation. Just as a painter prepares their canvas before adding strokes of colour, a successful graphic installation begins with meticulous planning and careful consideration.
The Art of Preparation
Imagine setting out on a road trip without a map or a destination in mind. Graphic installation, too, demands a clear roadmap. The first step is conducting a thorough site assessment. Whether you’re working with a brick wall, a glass window, or a vehicle’s surface, understanding the nuances of the environment is crucial.
Measure Twice, Install Once
Remember the age-old adage “measure twice, cut once”? In graphic installation, precision is everything, and accurate measurements are your compass. Take the time to measure the installation area meticulously. A single misstep in measurements can lead to misaligned graphics or even requiring re-printing of entire sections of graphics.
Environmental Considerations
Nature and surroundings play a role in the success of your installation. Factors like temperature, humidity, and even direct sunlight can influence the adhesive properties and longevity of your graphics. A vinyl that sticks perfectly in one environment might behave differently in another. Wind is also another consideration as large graphics make extremely good sails and can pose significant safety risks while working at height. Understanding how these factors come into play ensures a durable and visually appealing installation.
In the next section, we’ll delve into the art of achieving perfect alignment—a key factor in turning your installation from good to exceptional.
Stay tuned as we uncover more insights to help you master the art of graphic installation.
Remember, a solid foundation paves the way for an impeccable installation. Let’s set the stage for greatness!
2. Perfect Alignment: A Non-Negotiable
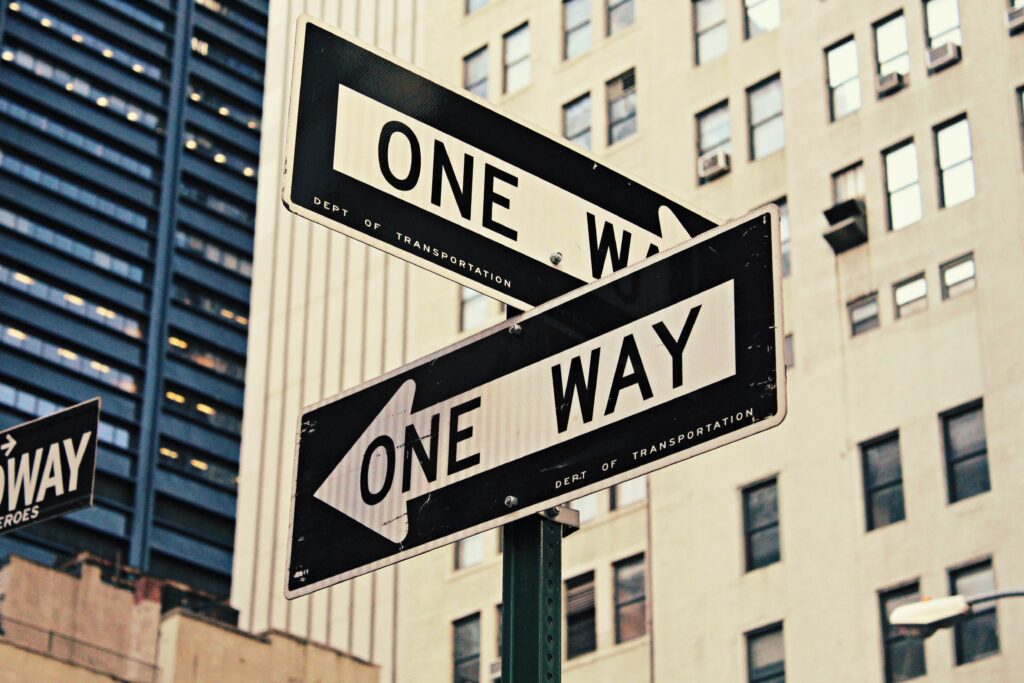
When it comes to graphic installation, there’s one element that can instantly distinguish between amateur and professional work: alignment. The way your graphics align with their surroundings can make or break the overall impact of your installation. Perfect alignment isn’t just a detail; it’s the hallmark of a polished and professional finish.
The Power of Alignment
Imagine walking into a gallery and seeing a piece of art hung slightly askew. It immediately draws attention for the wrong reasons. The same principle applies to graphic installation. Proper alignment isn’t about being meticulous for the sake of it; it’s about ensuring that your message is communicated clearly and flawlessly.
The Dance of Precision
Achieving perfect alignment is a dance of precision. Every millimeter matters. Graphics that are even slightly misaligned can create a jarring visual effect and disrupt the harmony you’re aiming for. Whether it’s a series of graphics forming a larger image or a single graphic on a storefront window, the alignment is your conductor’s baton, directing the symphony of your visual narrative.
Tools and Techniques for Alignment Mastery
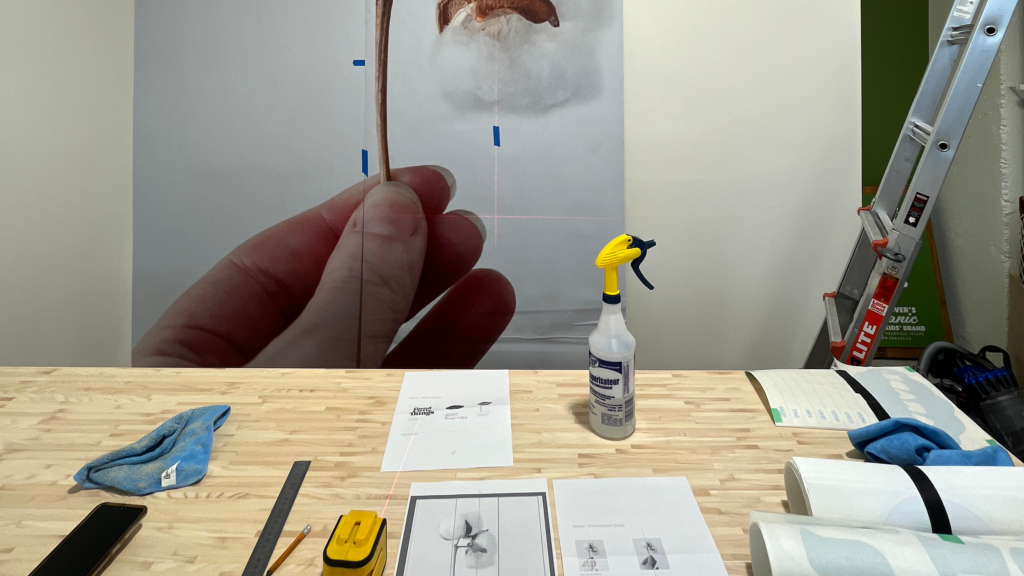
To master alignment, you need the right tools and techniques in your arsenal. Printers often leave some kind of alignment marks which serve as a visual guide but these shouldn’t always be relied upon. Laser levels are also your allies, casting precise lines to aid in placement. These tools transform what could be a guessing game into a process guided by accuracy. For smaller graphics a torpedo level or regular spirit level can help keep things straight.
The Alignment Ritual
Picture this: carefully measured alignment marks, laser lines intersecting precisely, and a final product that looks like it was born to be in its designated spot. Achieving alignment perfection requires patience and attention to detail. Where you start is key and you should make carful considerations when working with graphics that go around corners or over obstacles like electrical sockets or mullions between windows. Be sure to create reference points for graphic alignment, and getting the very first element or graphic panel on straight will give you the best start for success.
In the realm of graphic installation, alignment is your secret weapon. It’s the invisible force that elevates your work from ordinary to extraordinary, ensuring that your message is communicated with finesse and impact.
Stay tuned for more insights as we delve deeper into the nuances of graphic installation. Next up, we’ll explore conquering challenges that come your way during the installation process.
Remember, alignment isn’t just about positioning graphics—it’s about positioning yourself as a master of your craft.
3. Overcoming Installation Challenges
In the world of graphic installation, challenges are not roadblocks but opportunities for innovation. As you embark on your journey of mastering the art, you’ll encounter a variety of hurdles that test your skills and creativity. Let’s explore some common challenges and the creative solutions that can turn them into triumphs.
Navigating Uneven Terrain
Uneven surfaces can pose a significant challenge during installation. Walls with imperfections or vehicles with complex contours might seem daunting. But fear not—these surfaces are your canvas for creativity. The key lies in patience and adaptability. Heat guns can help vinyl conform to all sorts of irregularities, and proper stretching techniques can smooth out imperfections.
Tricky Spots, Brilliant Solutions
Every installation has its tricky spots. Those tight uneven corners, intricate curves, and hard-to-reach areas might seem intimidating, but they’re where your expertise truly shines. Instead of avoiding them, embrace them. By working slowly and using a combination of heat, finesse, and a hint of magic, you can make these areas come alive with flawless graphic placement.
Peeling Off the Backing Dilemma
The moment of truth: peeling off all of the backing at once. It’s a make-or-break moment that can lead to misalignments, folds, and wrinkles. Here’s where the ‘hinge’ or ‘butterfly’ method works its charm. By anchoring the graphic in the centre with masking tape and then applying one side first, you have better control over the graphic’s placement. Gradually peeling off the backing while smoothing out the vinyl makes for a bubble-free, seamless finish.
The Power of Patience
Perhaps the greatest tool in your kit is patience. Installing graphics isn’t a race; it’s a carefully choreographed dance. Take your time, step back if needed, and reassess your approach. Often, a step back provides the clarity needed to tackle challenges with a fresh perspective.
Your Creative Arsenal
Conquering challenges requires creativity. Think of yourself as a problem-solving artist. Explore various tools, techniques, and methods to find what works best for each unique situation. From using relief cuts to applying graphics in smaller sections, there’s no shortage of creative strategies to master.
In the world of graphic installation, challenges are the stepping stones to expertise. Each challenge you overcome adds to your repertoire of skills, making you a more versatile and capable installer.
Stay tuned for more insights as we continue our journey through the art of graphic installation. Next up, we’ll explore the essential tools and equipment that elevate your installations from good to exceptional.
Remember, challenges are where innovation flourishes—embrace them and watch your skills soar!
4. Equipped for Excellence
Every craftsman knows that having the right tools can make all the difference between a masterpiece and a mere attempt. The same holds true for graphic installation. As we delve deeper into the world of mastering this art, let’s explore the tools and equipment that transform your installations from good to exceptional.
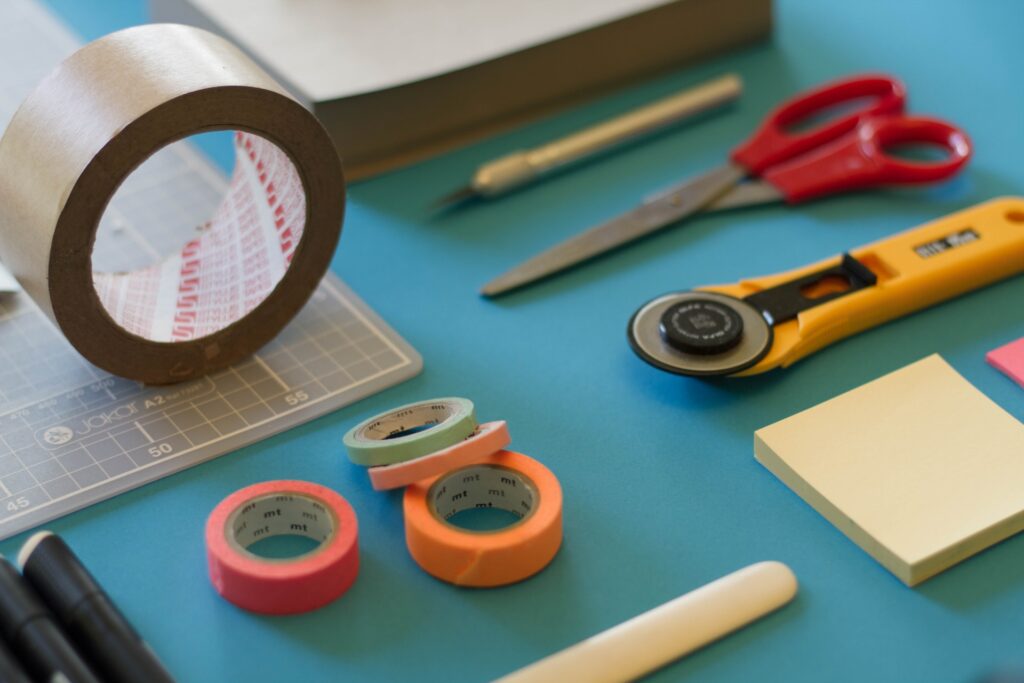
Building Your Toolbox
Your toolbox is your arsenal of possibilities. From squeegees to backing slitters, every tool serves a purpose in achieving precision and perfection. Squeegees are your number one tool to smooth out the graphics, eliminating air bubbles and ensuring a flawless finish. Backing slitters allow you to splice the backing paper anywhere on the graphic and can be a real lifesaver on larger graphics.
Investing in Quality
In the realm of tools, quality matters. A high-quality squeegee can glide smoothly, preventing scratches and bubbles. A durable cutter can make intricate cuts with ease. Investing in well-crafted tools not only enhances your efficiency but also reflects in the final result.
Power of Consistency
Using the same tools consistently is essential for developing muscle memory and consistent technique. Familiarity with your tools allows you to anticipate their behaviour, adjusting your approach accordingly. Everyone has their go to tools that they use on every job. With practice, you’ll find yourself becoming one with your tools, orchestrating installations with finesse.
The Role of Specialty Tools
Certain installations demand specialty tools. Heat guns are essential for making vinyl pliable and adhering it to complex surfaces such as vinyl floor graphics or outdoor block wall wraps. Laser levels provide visual guides for perfect alignment. Specially formulated liquids can give you extra worktime with window graphics by creating a barrier between the adhesive and the glass. These tools aren’t just luxuries; they’re essential instruments in your toolkit.
A Reminder of Quality
Remember, the quality of your tools directly impacts the quality of your installations. It’s an investment in your craft and a commitment to delivering exceptional results to your clients.
Stay tuned for more insights as we continue our journey through the art of graphic installation. In our next section, we’ll explore the importance of adapting your techniques to different surfaces for flawless installations.
Just as a painter needs a brush, you need the right tools to craft your graphic installations. Let’s equip ourselves for excellence!
5. Adapting to Different Surfaces
As a graphic installation virtuoso, your canvas isn’t limited to one material or backdrop. From walls to windows, floors and vehicles, each surface presents a unique challenge and opportunity for creativity. Let’s delve into the art of adapting your techniques to different surfaces, ensuring that your installations not only adhere flawlessly but also resonate harmoniously with their surroundings.
Walls: A Blank Canvas
Walls provide a blank canvas for your creativity. However, their textures and imperfections can pose challenges. For rough or poorly painted surfaces, consider using adhesive with greater tackiness. Smoothing out air bubbles and ensuring a seamless finish are vital for a professional appearance. Increasingly paint manufacturers are moving to low or zero VOC paint formulations which can be tricky to get vinyl to adhere to unless fully cured. vinyl manufacturers often recommend allowing paint to cure for up to 90 days before attempting to apply vinyl.
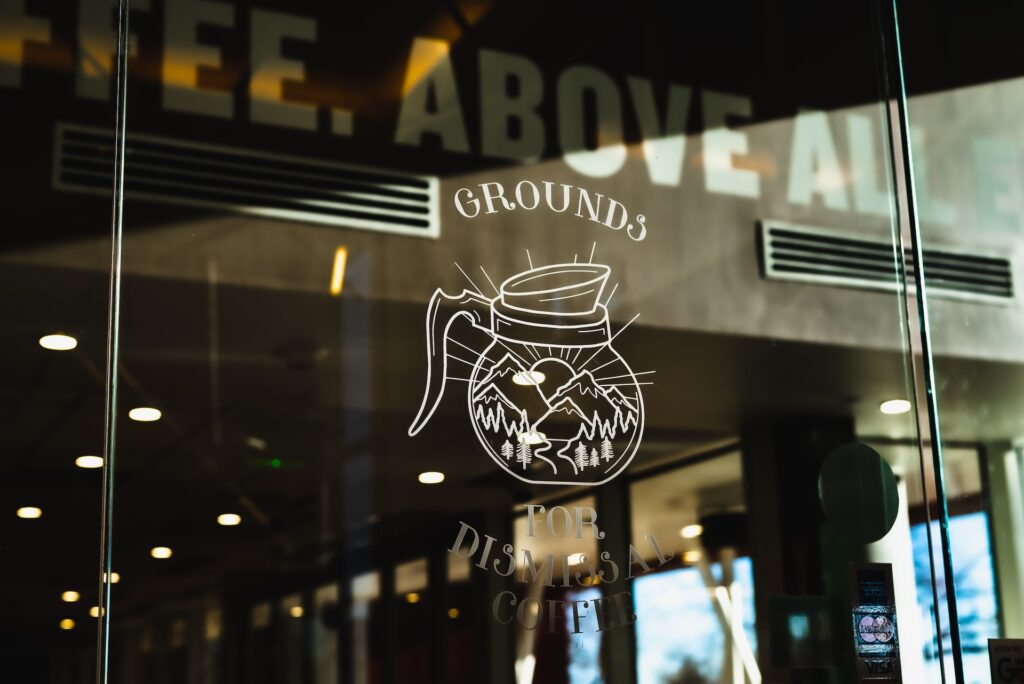
Windows: Translucent Artistry
Installing graphics on windows requires finesse. Glass is an extremely uniform flat surface and the tiniest speck of dirt or grit under the graphic can spell disaster. Glass preparation is key and remember people can usually see both sides of the graphics so small mistakes are harder to hide. Pay attention to any tint or film already on the glass as this can especially affect 2nd surface (applied to the inside of the glass facing out) graphics on windows and can wash out in various lighting scenarios.
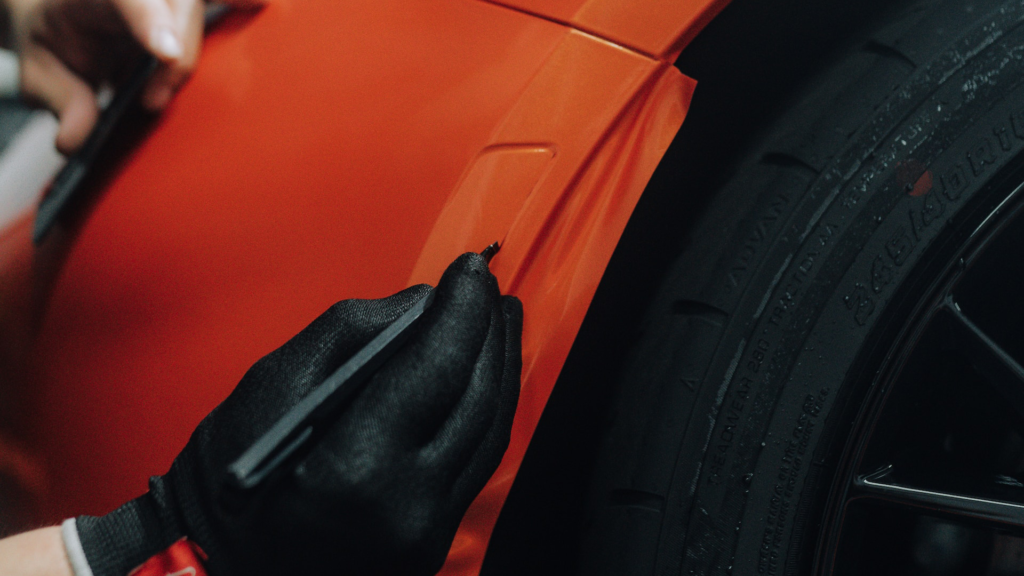
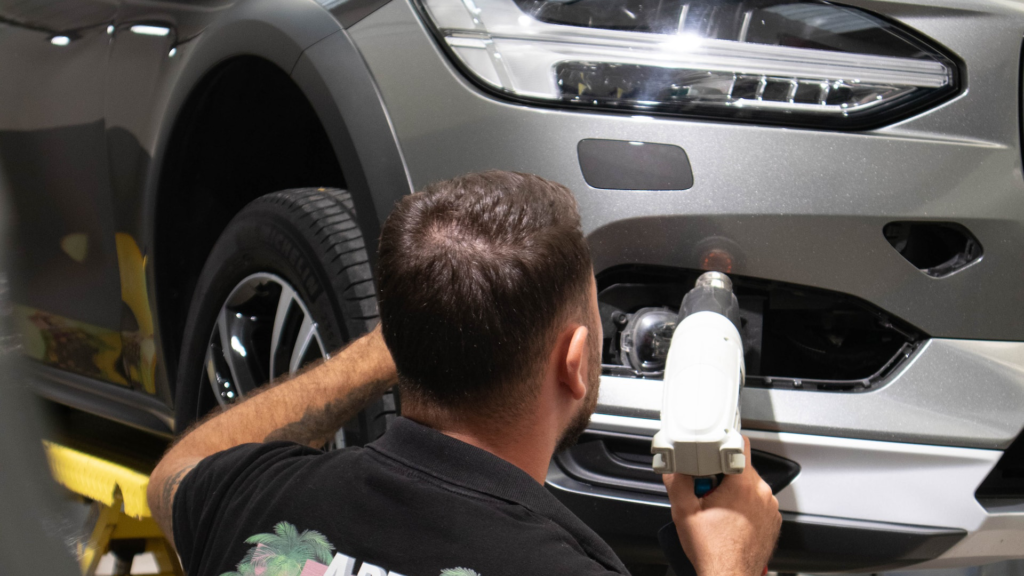
Vehicles: Mobility Meets Mastery
Vehicle graphics are usually the toughest installations of them all. With little to no flat surfaces the curved surfaces demand careful stretching and manipulation. Heat guns are usually essential, allowing vinyl to contour smoothly. Creative consideration of design elements and their interaction with the vehicle’s features can take time and patience.
Tips for Tailoring Techniques
- Surface Cleaning: Begin by thoroughly cleaning the surface to ensure proper adhesion.
- Temperature Awareness: Different materials respond differently to temperature changes. Factor this into your installation process.
- Stretching and Manipulation: For complex surfaces, use heat to make vinyl more pliable and easier to conform.
- Squeegeeing Techniques: Adjust your squeegeeing techniques based on the material. More delicate surfaces require gentler pressure.
A Master’s Adaptability
The hallmark of a master installer is their adaptability. It’s the ability to morph your techniques seamlessly, transforming challenges into opportunities. With every new surface, you add another layer to your expertise, enhancing your ability to create stunning visuals in diverse settings.
Stay tuned for more insights as we continue our journey through the art of graphic installation. Our next section delves into the quest for bubble-free brilliance—an essential aspect of achieving a professional finish.
Just as a chameleon adapts to its surroundings, you adapt to each surface, creating installations that resonate uniquely. Let’s explore the versatility of your craft!
6. Bubble-Free Brilliance
So you’ve meticulously planned, perfectly aligned, and adapted your techniques to the surface. Yet, as you peel off the backing and press down, unwelcome bubbles appear. Bubbles are the bane of all graphic installations, but fear not! We’re here to unveil the secrets to achieving bubble-free brilliance.
The Battle with Bubbles
Bubbles are more than just a visual nuisance; they can mar the professionalism and elegance of your installation. They disrupt the clean lines, divert attention, and undermine the overall impact of your graphics. From tiny air pockets to larger bubbles, their presence can transform a flawless installation into a distracting eyesore.
The Hinge Method: Your Secret Weapon
Enter the “hinge method.” This technique involves applying one side of the graphic while leaving the other side attached to the backing. It’s akin to opening a door on a hinge. This controlled approach lets you position the graphic with precision, gently smoothing it out as you go. Once the first side is secure, peel off the backing and continue smoothing, minimizing the chances of trapped air.
Tools and Techniques
In addition to the hinge method, a variety of tools and techniques can help you achieve a bubble-free finish:
- Squeegee Mastery: Use a squeegee to gradually push out air as you apply the graphic. Gentle, consistent pressure is key working from the centre out to the edge.
- Pin and Release: If you spot a bubble and you are unable to peel up the vinyl, use a pin to gently puncture it and then press down to release the trapped air. Try to avoid doing this too much as every pin hole can remain visible in the finished graphic. Do not use this method for vehicle vinyl wraps
- Heat and Stretch: Heat guns are your allies. If things start getting out of shape you can warm the vinyl, then gently stretch and reapply it to smooth out any bubbles. This can also help with creases.
Patience and Precision
While battling bubbles can be frustrating, patience is your greatest ally. Slow and steady wins the race. When you encounter a stubborn bubble, don’t rush. Approach it methodically, applying heat, gentle pressure, and a touch of finesse.
The Reward of Perfection
A bubble-free installation isn’t just visually pleasing; it’s a testament to your expertise. It reflects the hours spent mastering your craft, understanding materials, and perfecting your technique. A bubble-free graphic instils confidence, leaving a lasting impression on anyone who encounters it.
Stay tuned for more insights as we continue our journey through the art of graphic installation. Our next section explores the crucial aspect of safety—because every masterpiece is built on a foundation of well-being.
7. Prioritizing Safety
In the realm of graphic installation, safety isn’t just a precaution, it’s the foundation upon which every successful project stands. As you embark on your journey to master the art of installation, let’s delve into the significance of safety precautions and how they ensure not only the integrity of your work but also your well-being.
Safety: Your Silent Partner
Picture this: you’re on a ladder, focused on aligning graphics, when you lose your balance. It’s a scenario that safety precautions aim to prevent. Safety isn’t an afterthought; it’s the silent partner that enables you to execute your craft with confidence and precision. “There are more than 300 ladder-related deaths and over 130,000 emergency room visits related to ladders each year, as well as 2,000 ladder-related injuries every day. Improper ladder use has serious implications.” (ansi.org)
Mindful Manoeuvring
Safety isn’t limited to gear alone; it’s also about mindful manoeuvring. When working with tools, be attentive to your surroundings and the potential risks they pose. Secure ladders, maintain a clutter-free workspace, and never compromise on the well-being of yourself or those around you. We are often using extremely sharp blades and cuts are inevitable, always carry a small first aid kit to deal with any cuts.
Working at Height
Graphic installations are rarely just at ground level. Projects can range from working on step ladders, scaffolding and Mobile elevating working platforms (MEWP’s) like scissor and boom lifts. It is vital that you have the adequate training to operate and erect all of these forms of access equipment.
A Measure of Professionalism
Prioritizing safety isn’t just responsible; it’s a mark of professionalism. It showcases your commitment not only to your craft but also to the people who encounter your installations. A safe installation doesn’t just look good—it’s a reflection of the care and dedication you invest in your work.
Safety First, Always
Safety isn’t a one-time consideration; it’s a continuous commitment. As you master the art of graphic installation, let safety be your guiding principle. By taking every precaution, you ensure that each project is not only a visual triumph but also a testament to your professionalism and concern for well-being.
Stay tuned for more insights as we journey through the art of graphic installation. Our next section delves into ensuring the longevity of your installations, even in the face of changing seasons.
Just as a masterpiece is framed to protect its beauty, safety frames your expertise in graphic installation. Let’s continue our voyage with safety as our compass!
8. Ensuring Longevity
Graphic installation isn’t just about the here and now—it’s about creating enduring visuals that withstand the test of time and the elements. As we navigate the art of installation, let’s explore the challenges of outdoor installations and the strategies to ensure that your graphics maintain their vibrancy and impact, even in the face of changing seasons.
Outdoor Installations: Nature’s Canvas
Outdoor installations present a canvas unlike any other. The great outdoors boasts endless possibilities, but it also brings challenges like exposure to sun, rain, wind, and temperature fluctuations. Ensuring your graphics stand up to these elements requires foresight and strategic planning.
Selecting the Right Materials
When it comes to outdoor installations, material selection is paramount. Opt for materials that are UV-resistant and designed to withstand weathering. High-quality vinyl can hold up against sunlight and prevent fading, ensuring that your graphics remain as vibrant as the day they were installed.
The Protective Power of Laminates
Laminates act as a shield for your graphics, providing an extra layer of protection against the elements. Whether it’s a gloss laminate that enhances color vibrancy or a matte laminate that reduces glare, the right choice can significantly extend the life of your installations.
The Art of Adhesion
Proper adhesion is essential for longevity. Ensuring that your graphics adhere securely to the surface prevents water infiltration, which can lead to peeling and deterioration. Thorough surface cleaning and using adhesives that are tailored to outdoor conditions contribute to reliable adhesion.
Seasonal Changes: Adapt and Protect
Seasons change, and so does the impact on your graphics. Winter snow, spring rain, summer heat—each season presents unique challenges. Consider the climate of your location and the specific conditions your graphics will face. Proactively address potential issues by choosing materials and adhesives that are engineered to thrive in those conditions.
A Testament to Durability
The longevity of your installations speaks volumes about their quality and your expertise. A graphic that remains vibrant, clear, and unblemished over time is a testament to durability. It’s a message that your work endures the elements and continues to tell its story to passers-by.
Stay tuned for more insights as we continue our journey through the art of graphic installation. In our next section, we’ll explore the delicate art of removing and replacing graphics—a skill that requires finesse and precision.
Just as a tree’s leaves change with the seasons but its strength remains, your graphics withstand time and elements with enduring excellence.
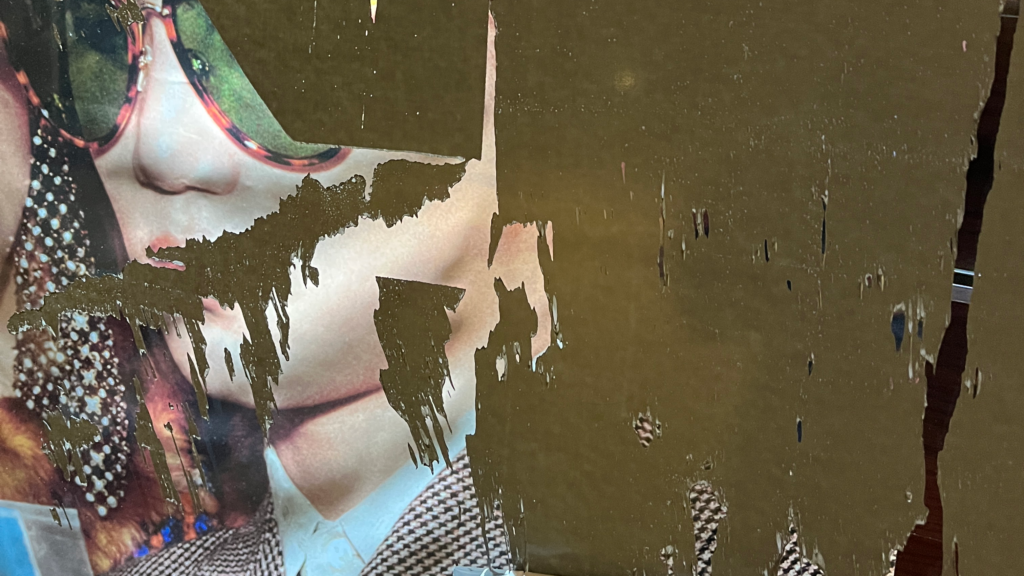
9. Graphic Removal and Replacement
As a master of graphic installation, your expertise isn’t limited to applying graphics—it also extends to the delicate art of removal and replacement. Just as a restorer carefully unveils a hidden masterpiece, you too must approach this process with finesse to avoid surface damage and preserve the integrity of your work. Let’s dive into the world of artful removal and replacement.
The Delicate Dance
Removing graphics is akin to peeling away layers of history. However, doing so haphazardly can leave scars on the canvas beneath. Proper removal techniques are essential to avoid damaging surfaces and ensure a smooth transition to new graphics.
Tools of the Trade
When it comes to removal, heat guns, scrapers and adhesive removers become can make life easier. Heat gently warms the adhesive, making it easier to peel the graphic without tearing or leaving residue. Adhesive removers can dissolve adhesive remnants left behind, ensuring a clean surface for the next installation.
The Slow Unveiling
Approach removal with patience. Apply heat in small sections, and as the adhesive softens, gently peel back the graphic. Slow and controlled movements prevent surface damage and allow you to address any challenges that arise.
Adhesive Residue Redemption
After removing the graphic, adhesive residue can linger like a stubborn stain. Adhesive removers dissolve the residue without harming the surface. Gently rub the remover and wipe away the residue, revealing a blank canvas ready for your next masterpiece.
Replacement with Precision
When it’s time for replacement, aligning your new graphic accurately is paramount. Draw upon your alignment skills to ensure a seamless transition. The same meticulous approach that defines your installations should also guide your replacements.
A Test of Mastery
The art of removal and replacement is a test of your mastery—a demonstration of your ability to both create and transform. Whether it’s replacing outdated graphics, refreshing branding, or responding to changing seasons, your expertise shines through in every step.
Just as an artist restores an old canvas, you restore surfaces with precision, ensuring they’re ready for new tales to be told.
Conclusion
And there you have it—an artistic journey through the world of graphic installation, brought to life with precision, creativity, and mastery. As we draw the curtain on this exploration, let’s reflect on the key takeaways that can elevate your craft and transform your installations into enduring works of art.
Melding Creativity with Precision
Graphic installation is a harmonious blend of creativity and precision. Each cut, alignment, and technique contributes to the visual symphony you create. Embrace the canvas before you, adapt your techniques, and let your creativity flourish.
Perfect Alignment: The Maestro’s Touch
Alignment is your secret weapon—the difference between ordinary and extraordinary. Achieving perfect alignment transforms your installations from good to exceptional. Use tools, the hinge method, and meticulousness to create visually captivating masterpieces.
Turning Challenges into Triumphs
Challenges are opportunities for innovation. Tricky surfaces, stubborn bubbles, or uneven terrains—each challenge you conquer adds a layer of expertise to your toolkit. Embrace them, adapt your techniques, and turn hurdles into triumphs.
Equipped for Excellence
Your tools are an extension of your expertise. Invest in quality tools that empower you to execute your vision with finesse. Let each tool become a brush that translates your creativity onto surfaces.
Adapting to Diverse Surfaces
Adaptability is your hallmark. Each surface demands a tailored approach. Walls, windows, and vehicles present unique challenges that require your creative manoeuvring. Adjust your techniques, conquer contours, and transform surfaces into captivating visuals.
Bubble-Free Brilliance
Bubbles are the adversary of perfection, but you hold the key to bubble-free brilliance. Embrace the hinge method, employ the right tools, and wield patience to achieve smooth, flawless installations.
Prioritizing Safety for Excellence
Safety is the foundation of every masterpiece. From safety gear to mindful manoeuvring, ensure your well-being and that of those around you. A safe installation not only reflects professionalism but also empowers you to work with confidence.
Ensuring Longevity Through Seasons
Outdoor installations face nature’s elements. Choose high-quality materials and protective laminates to ensure longevity. Adapt to seasonal changes, safeguarding your graphics’ vibrancy and impact.
Artful Removal and Replacement
Like an art restorer, approach removal and replacement with finesse. Use heat guns and adhesive removers for a delicate process that preserves surfaces. Replacement requires alignment precision—a testament to your expertise.
A Journey of Mastery
Remember, mastery is a journey, not a destination. Continuously learn, experiment, and refine your techniques. Dedicate yourself to the art of graphic installation, and witness your skillset evolve.
Stay Connected for More Insights
The journey doesn’t end here. Continue to explore, learn, and refine your craft. For more expert insights and future updates, stay connected with Ad Install. Our commitment to excellence and innovation will continue to empower you on your path to mastering graphic installation.
Thank you for joining us on this artistic voyage. As you create installations that inspire, captivate, and endure, remember that every surface is a canvas, every graphic is a stroke of your creativity, and every installation is a testament to your artistry.
If you need further information or are half way through an installation and think you have bitten off more than you can chew, please get in touch! We are passionate about graphic installation and always happy to give advice.
Until our paths cross again, keep mastering the art of graphic installation. We are always looking for enthusiastic graphic installers to join our growing team so if your interested get in touch.